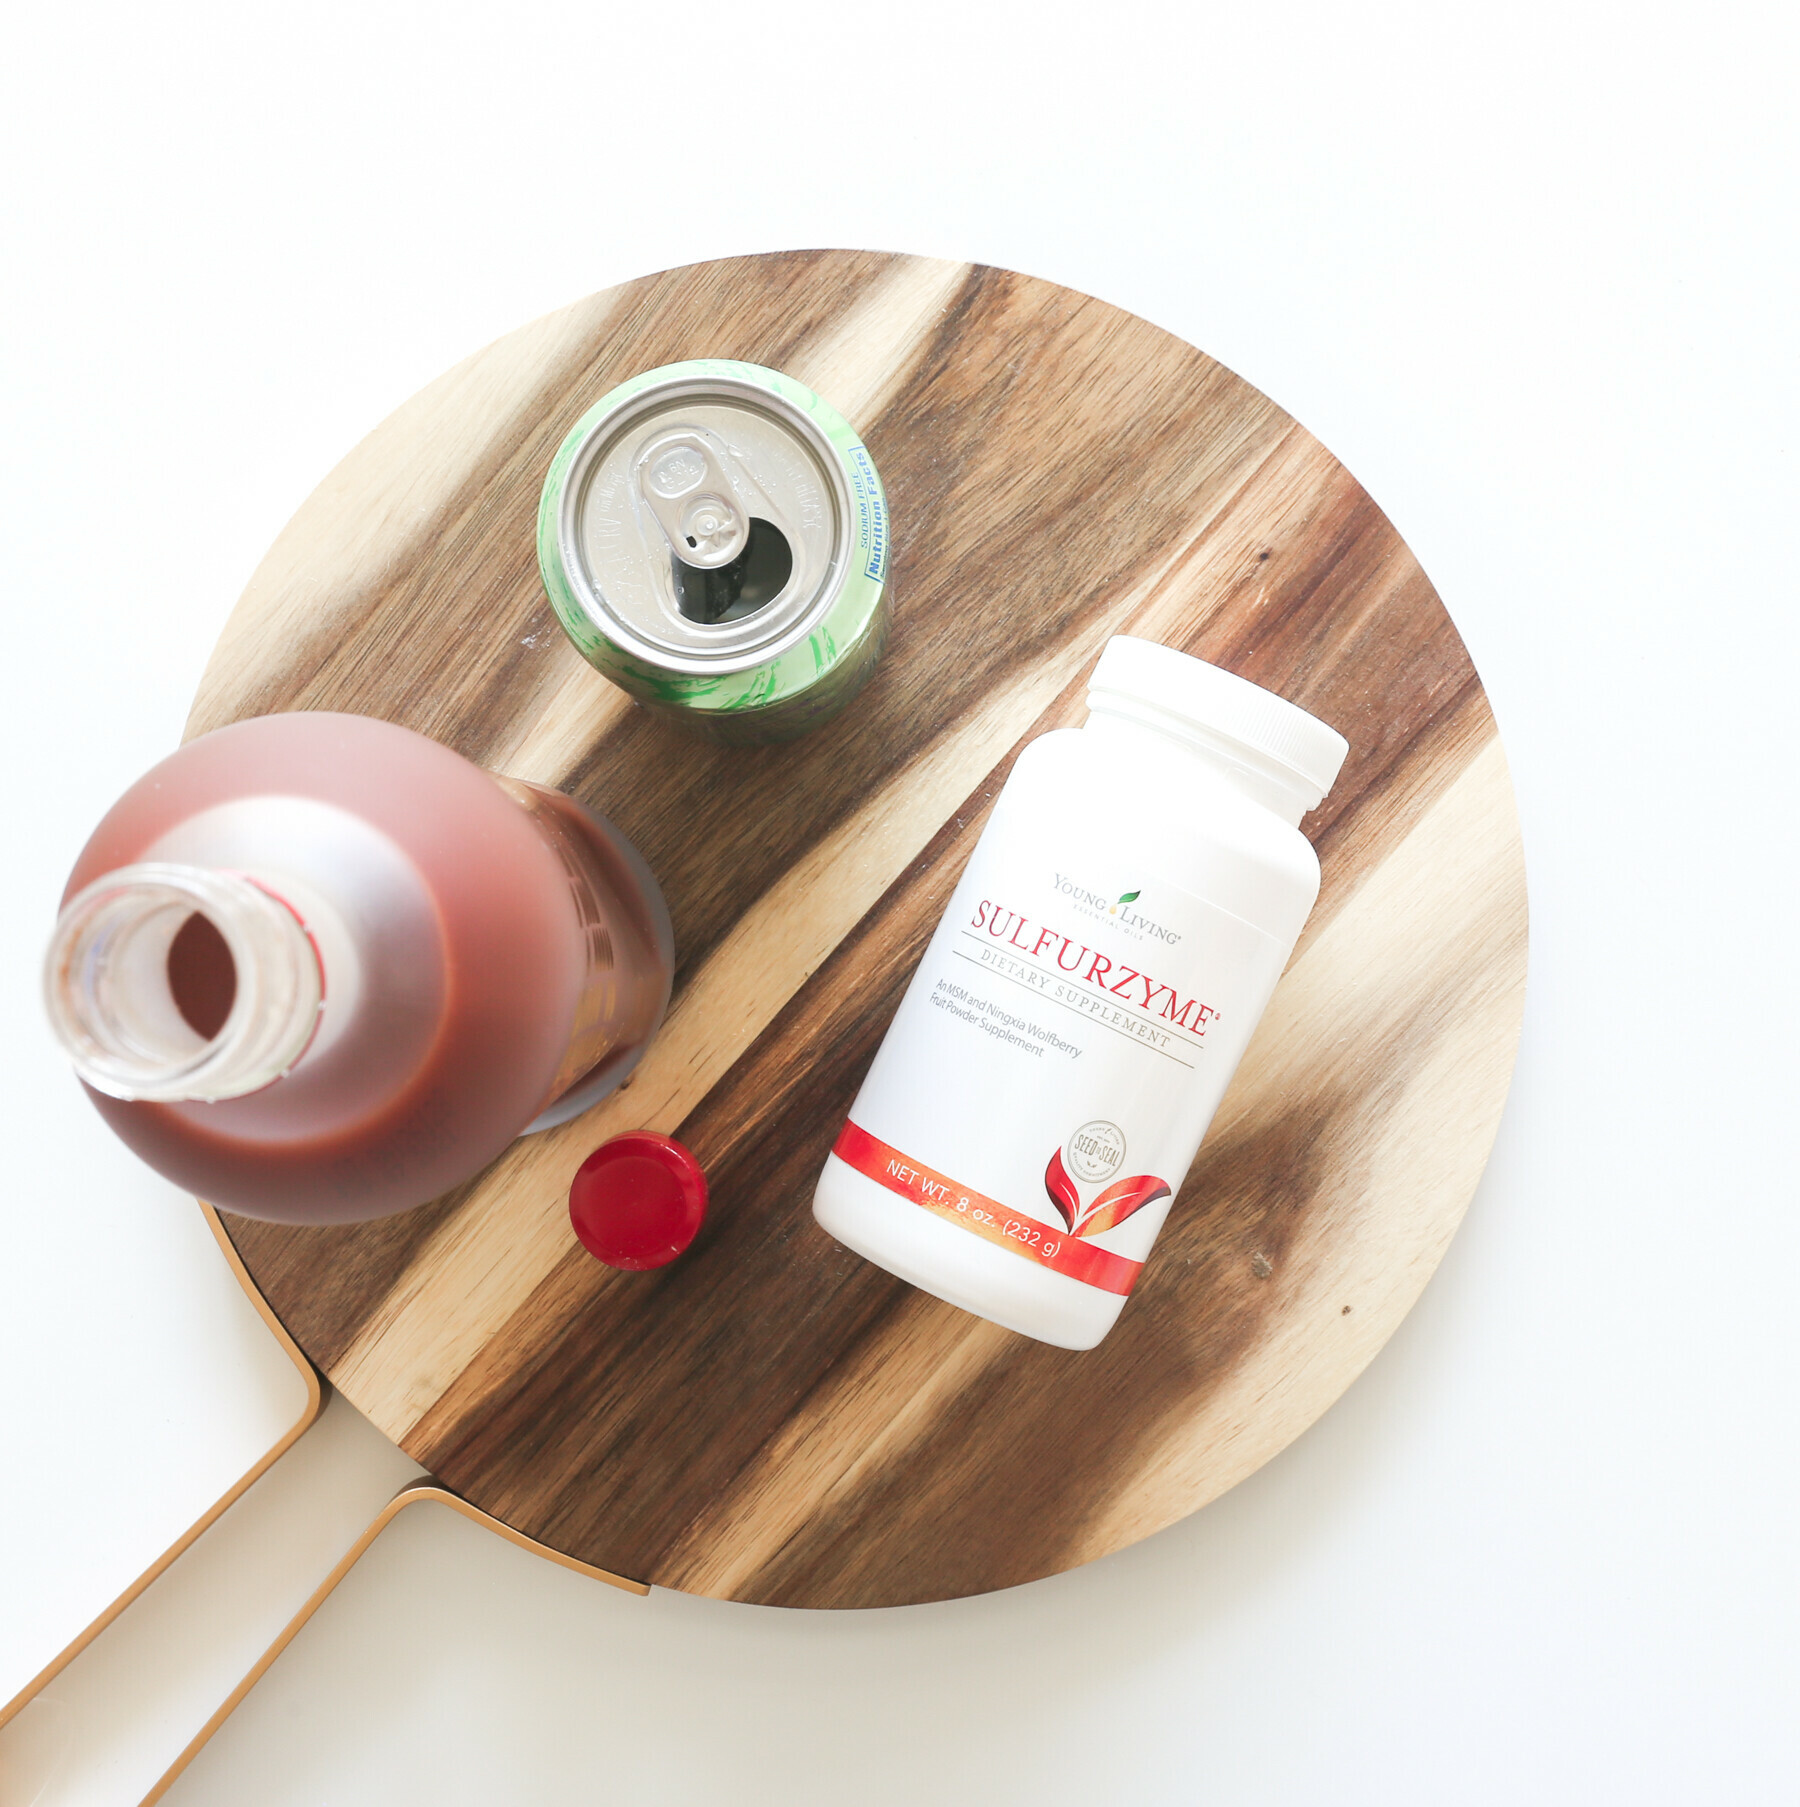
MSM is something I think most everyone should be taking. Glyphosates deplete it in our food.
What Is MSM and How Does it Work?
MSM makes cell walls permeable, allowing water and nutrients to freely flow into cells and allowing wastes and toxins to properly flow out. The body uses MSM along with Vitamin C to create new, healthy cells, and MSM provides the flexible bond between the cells. Without proper levels of MSM, our bodies are unable to build good healthy cells, and this leads to problems such as lost flexibility, scar tissue, wrinkles, varicose veins, hardened arteries, damaged lung tissues, dry cracking skin, digestive disorders, joint problems, and inability to defend against allergic reactions to food, animals and plants.
MSM (methylsulfonylmethane) is an organic sulfur compound that’s naturally derived during the earth’s rain cycle
Discover the amazing benefits of taking ORGANIC SULFUR... it seems we don't get enough of it in our diets and there have been some remarkable tests results, including discouraging the growth of CANCER cells...
MSM is an anti-oxidant that helps to clean the blood stream and flush toxins trapped in our cells. It is also a foreign protein and free radical scavenger. In order to maintain good health, we need to supplement our diets with MSM, to enable the body to heal itself. The body uses what it needs, and after 12 hours will flush out any excess amounts.
*If your body doesn't receive the proper nutrition and building materials it needs, it will produce bad, dysfunctional cells not healthy cell. If we want our cellular tissue regenerate instead of degenerate we need to supplement our diets with MSM.
7 Benefits of MSM a.k.a. Sulfur or Sulphur – The Miracle Supplement
Biologically active sulfur is one of the most critical nutrients for our bodies to remain youthful and energetic. As we age, along with a diet deficient in essential nutrients, our bodies become stiff, our cells become rigid, and our overall energy begins to rapidly decelerate.
MSM (methylsulfonylmethane) is an organic sulfur compound that’s naturally derived during the earth’s rain cycle. Sulfur is present in many natural unprocessed foods, but it’s quickly lost during the cooking process. MSM is gaining a lot of attention due to the recent focus on longevity and anti-aging technologies. Here’s a list of 7 impressive benefits that MSM delivers:
1. Improves skin health and complexion
MSM is necessary for collagen production. Sagging skin and wrinkles, as well as dry, cracked skin are all developed through a loss of collagen. MSM works together with Vitamin C to build new, healthy tissues. MSM can normalize collagen formation and radically improve skin health.
2. Improves flexibility
Research has shown that MSM is highly effective in improving joint flexibility. Additionally, it helps to produce flexible skin and muscle tissue. This leads to an increase in overall flexibility due to a restoration of the “juiciness” in the tissues.
3. Detoxifies the body
One of the most important features of MSM is that it makes your cells more permeable. This means that it allows toxins and metabolic waste products to easily be moved out of the cells, while essential nutrients and hydration can be moved in. It’s a calcium phosphate dissolver, so it has a remarkable ability to break up the bad calcium that’s at the root of degenerative diseases.
4. Strengthens hair and nails
Collagen and keratin and both critical for the production of healthy hair and nails. MSM is a bonafide “beauty mineral” that provides the sulfur needed to produce collagen and keratin. It’s also highly noted to contribute to exceptional strength and thickness of the hair and nails, which can be noticed in just a couple weeks of consistent use.
5. Accelerates healing
Lactic acid and other byproducts cause pain and soreness in the body. MSM increases the ability of the body to eliminate waste products at the cellular level. This speeds recovery and frees up more energy for rebuilding.
6. Naturally Increases energy
Due to the increased permeability of the cells, less energy is required to deal with the accumulation of toxins. This results in more energy being redirected towards activity and necessary healing. Digestion is the biggest energy requirement of the body (Approximately 70-80% of your energy is spent on digestion each day). MSM increases the absorption of nutrients so that the energy expenditure on digestion is vastly reduced.
7. Anti-inflammatory
MSM is a powerful anti-inflammatory due to its ability to allow metabolic wastes to be removed from the cells. Excess weight on the body is actually inflammation. The cells of the body are chronically inflamed and retaining the byproducts of metabolic processes. Sulfur needs to be present In order for these toxins and wastes to be removed from the body. When these byproducts can be removed from the system, then the cells can also dispose of excess fluids that were being stored as a buffer. What results is a natural and effective reduction in unwanted weight.
{Credit above to Amy Mohr}
There is a definite gut/brain connection, so if you are trying to deal with stress/anxiety/depression MSM may be helpful for you.
HOW DOES MSM TREAT LEAKY GUT?
There is no one solution to leaky gut. Treating it requires a combination of efforts, including tailored diet restrictions, medication control, and supplementation. Along with a high-quality probiotic and a good multivitamin, ... can play a key role in addressing both the causes and symptoms of leaky gut.
MSM addresses leaky gut in the following ways:
MSM reduces inflammation.
One of the most common reasons people take MSM is to reduce inflammation in their joints. MSM is useful for this purpose when people experience joint pain as a result of leaky gut syndrome. More importantly, the same anti-inflammatory properties that make MSM beneficial in the joints also help reduce inflammation in the lining of the small intestine, one of the causes of leaky gut.
MSM promotes cellular health
by allowing nutrients to be more effectively delivered to cells while carrying away harmful toxins and free radicals. Promoting cellular health in the lining of the small intestine promotes the production of enzymes that break down food and helps close the gaps in the intestinal villi that are at the root of leaky gut.
MSM relieves allergic responses.
MSM promotes cellular permeability, allowing your blood to more quickly flush out contaminants. This means that the body doesn’t need to generate such an aggressive autoimmune response when undigested food leaks into the bloodstream.
MSM promotes detoxification.
Toxins are one cause of intestinal inflammation.
MSM relieves constipation,
one of the symptoms of leaky gut.
MSM reduces Candida growth,
another cause of intestinal inflammation.
MSM promotes skin health
, helping heal rashes caused by the body’s autoimmune response to leaky gut.
MSM promotes mental clarity
and alertness, which can be reduced when contaminates in the blood make their way into brain tissue.
MSM helps the liver
produce chlorine. The liver uses chlorine to purge contaminants from the blood.
MSM promotes the control of stomach
acid. Stomach acid dissolves food before it reaches the small intestine. Improperly dissolved food can clog the intestine and lead to damaging inflammation.
MSM fights free radicals
that cause oxidation. Oxidation can be another cause of intestinal permeability.
MSM helps reduce hypersensitivity
to drugs, including over the counter NSAIDs and antibiotics that can damage the lining of the small intestine.
MSM helps remove parasites
from the body. Parasites can be one of the causes of leaky gut, by clinging to the cell walls and releasing harmful toxins or creating inflammation by their presence. Parasites can also cause nutrient deficiencies by robbing the body of nutrients that would otherwise be absorbed into the bloodstream and tissues. MSM has demonstrated noteworthy antiparasitic action against all of the parasites commonly found in the United States, including Giardia, Trichomonas, roundworms, nematodes, Enterobius and other intestinal worms. Tests indicate that MSM may hinders the ability of parasites to attach to the mucous membrane surface of the intestine. When parasites cannot attach, they cannot inflame the lining of the intestine or steal the nutrients they need to grow and reproduce. Unattached parasites will be flushed out of the body with the rest of the food waste. When using a microscope to look at a stool sample from a person who recently started taking MSM, it’s actually possible to see the movement of worms that used to be clinging to the lining of the intestines. Taking MSM for antiparasitic effect requires a short period of high doses. Take 5,000 to 10,000 mg of MSM daily for three or four weeks, then drop back to 3,000 mg per day.
{The above comes from the kala MSM website}
More great info on MSM :
Sulphur: The Forgotten Nutrient
MSM Health Benefits May Be Related to Its Sulfur Content By Dr. Mercola
...
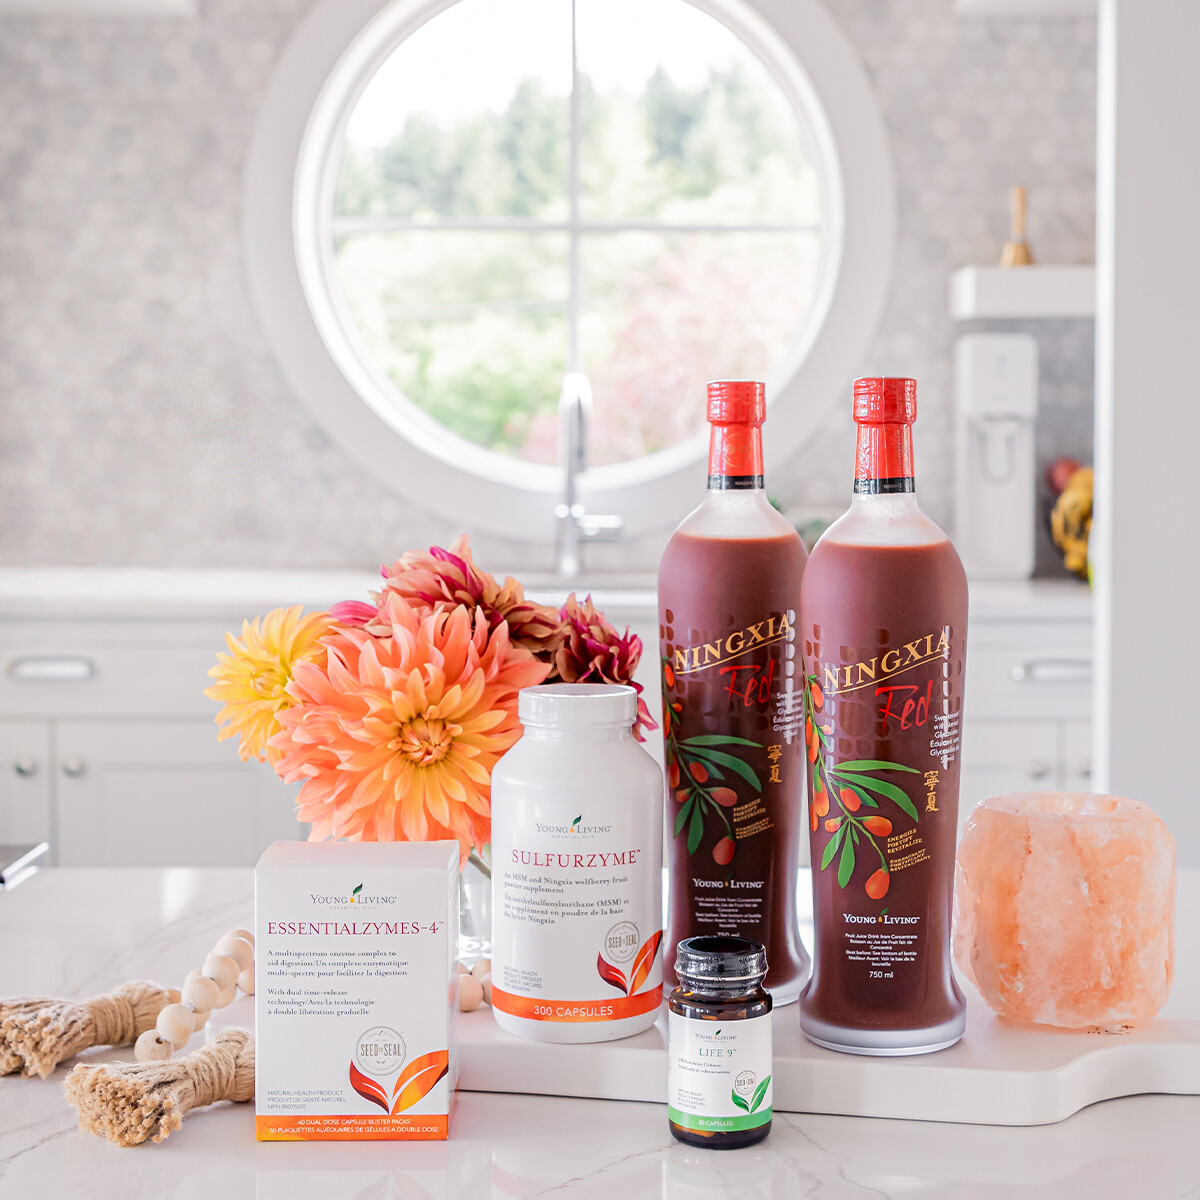
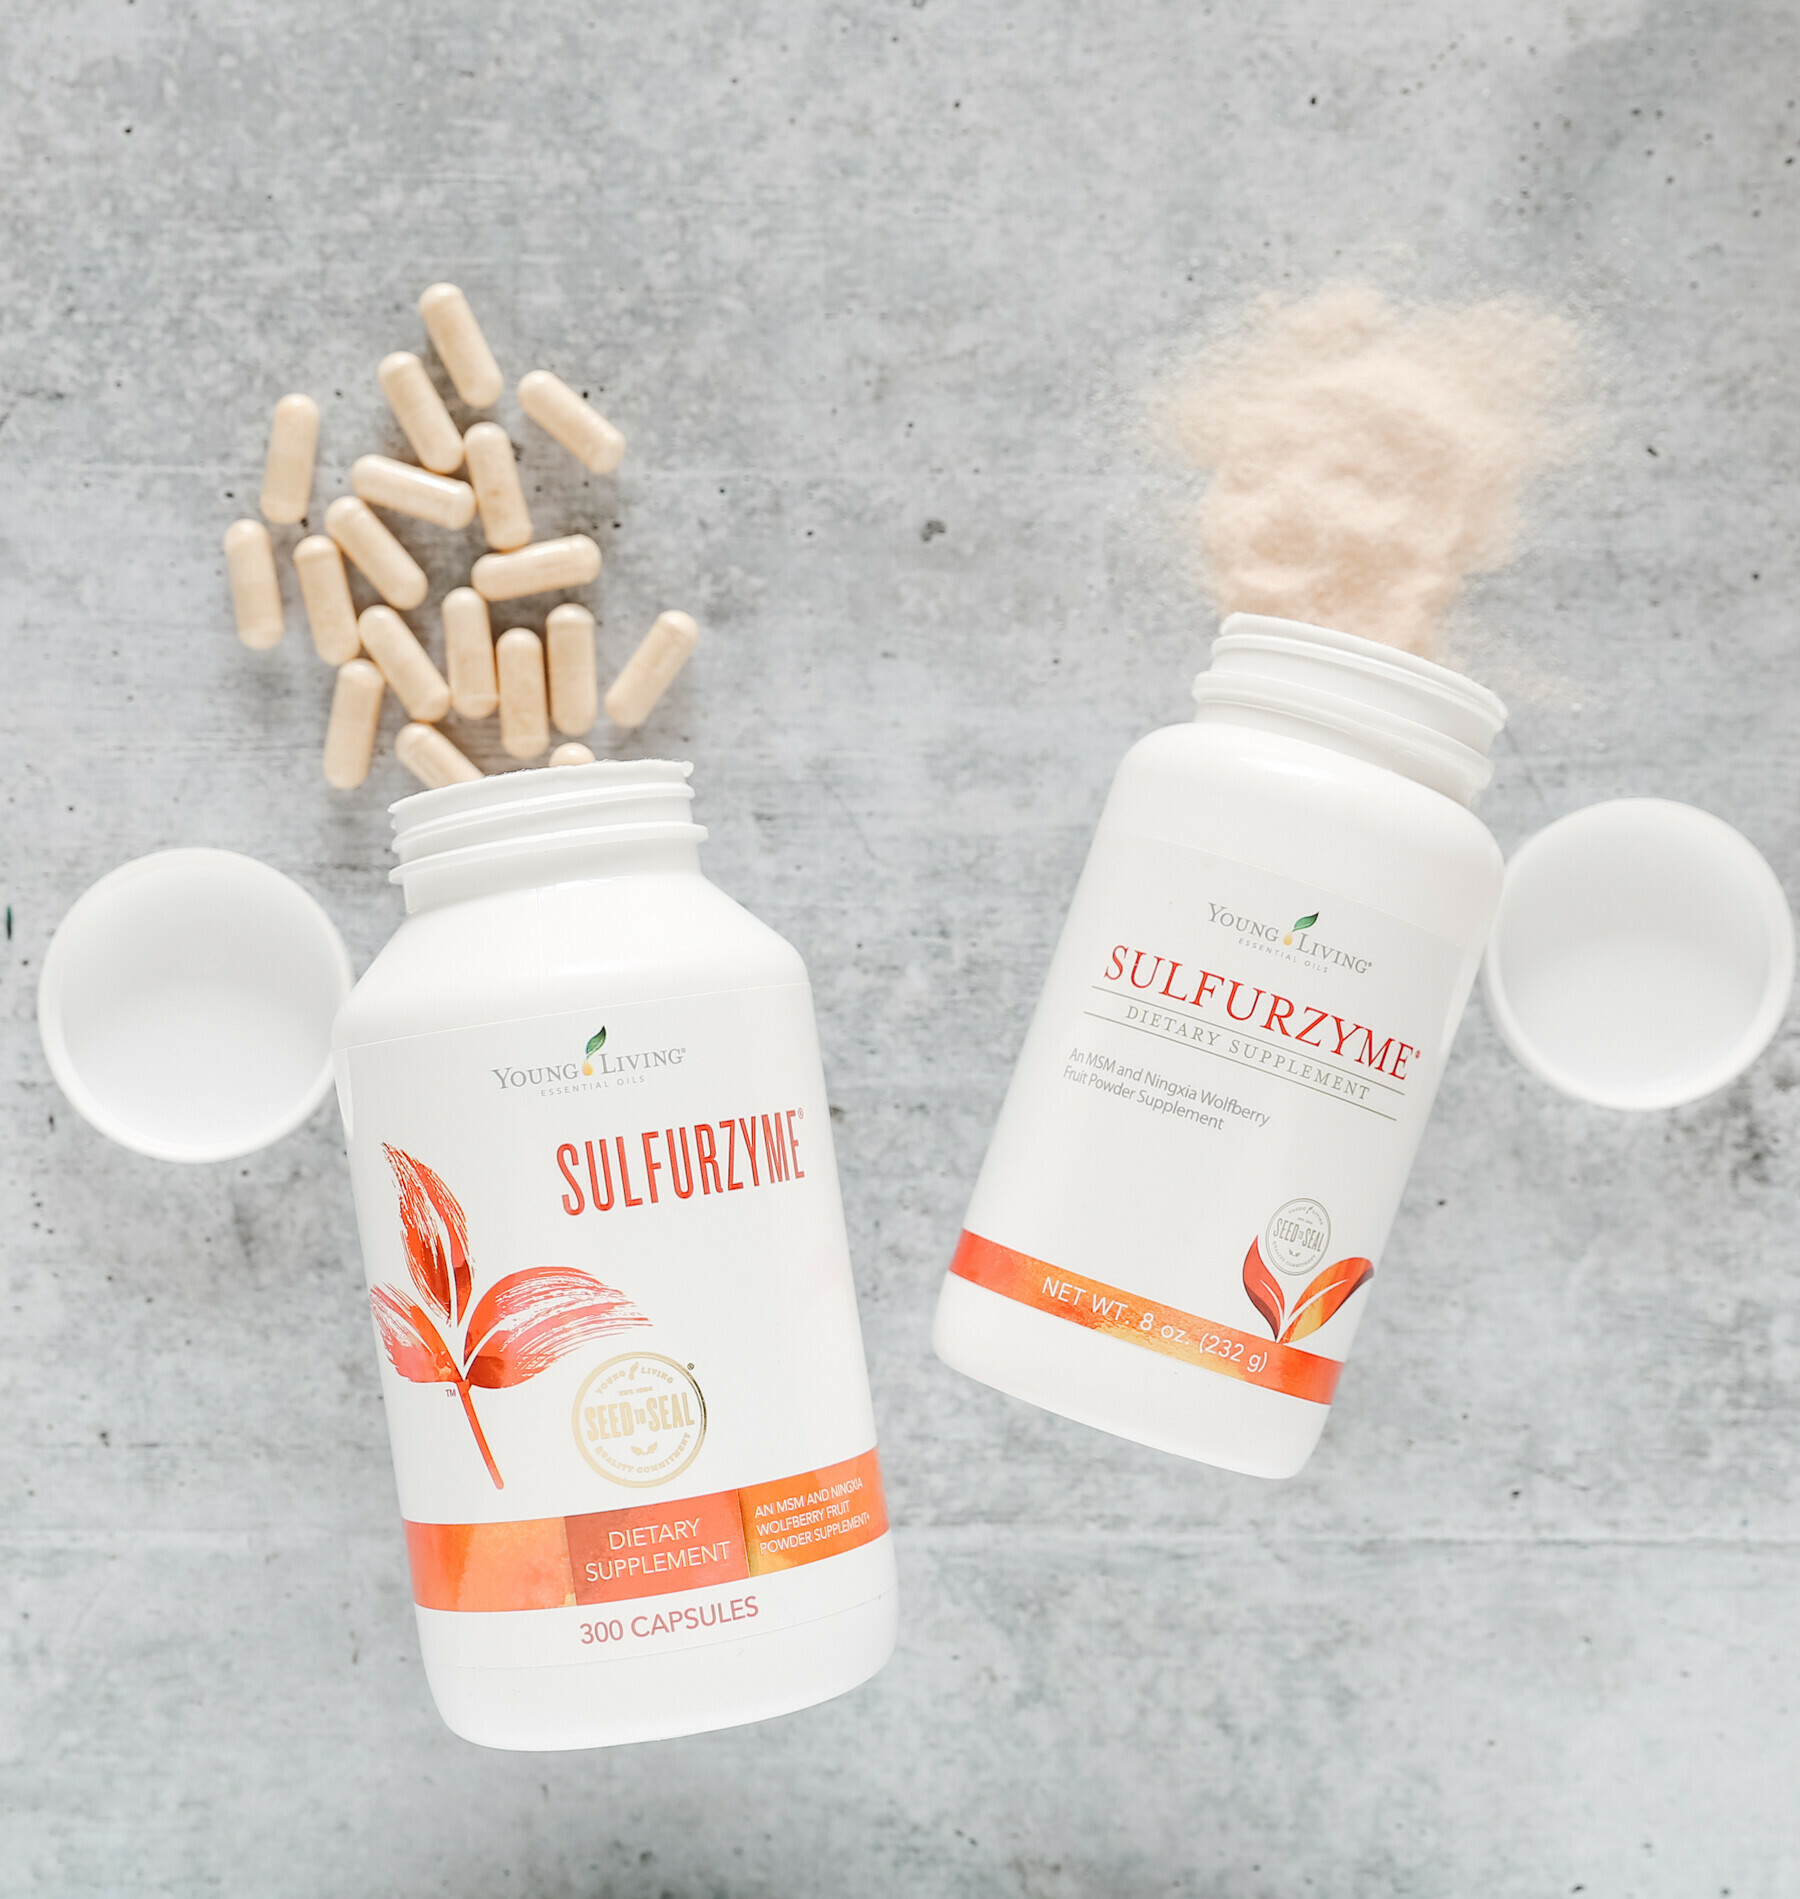
I take an MSM supplement that is purposely paired with high antioxidants for even better results. It contains minerals and coenzymes that support the assimilation and metabolism of sulfur. It's easy to take. I take it daily for maintenance and when I need an anti-inflammatory boost for my head or body or when ill, I take even more. My skin, hair and nails all perk up right away when I do, along with the comfort of my body and all the above benefits. Ask me about it so I can help you get the best pricing.
.
Enzymes
Enzymes are the keys to life itself, without them, we no longer exist. Over 300 enzymatic reactions occur in the body every second. We NEED enzymes.
The definition of enzyme is "A protein chemical that accelerates a chemical reaction in the body without being consumed in the process." We need enzymes for our very existence. Just as the life process depends on oxygen, it also depends on enzymes. While oxygen is fuel to the body, enzymes are the "go-betweens" that control the rate and speed of the energy output of each cell. They are catalysts. They energize you by helping to start your day and keep you going. They are needed for every chemical reaction in the body. Vitamins, minerals, and other nutrients cannot be used effectively without enzymes. The function of the immune system depends upon the presence of enzymes as well. The body works to produce enzymes needed for the smooth operation of the immune system.
We have over 3,000 different enzymes in our bodies. Some are de-rived from foods and others are produced in the body. The pancreas produces digestive enzymes, and the salivary glands produce other enzymes that help break down food so it may be properly assimilated.
Enzymes are destroyed by heat and processing, so in an ordinary diet, we rarely get the enzymes we need from food. Did you know that in the 12th week of gestation, the baby receives it's "enzyme potential" for life? (Dr. DicQie Fuller, The Healing Power of Enzymes). Eating a diet with plenty of raw foods will give us some very great enzymes, but even raw foods will loose their enzymes as they sit and oxidize. Fresh is always best.
First, there are metabolic enzymes. This class of enzymes assists our mental and sensory systems, thinking, hearing, smelling, seeing, and feeling.
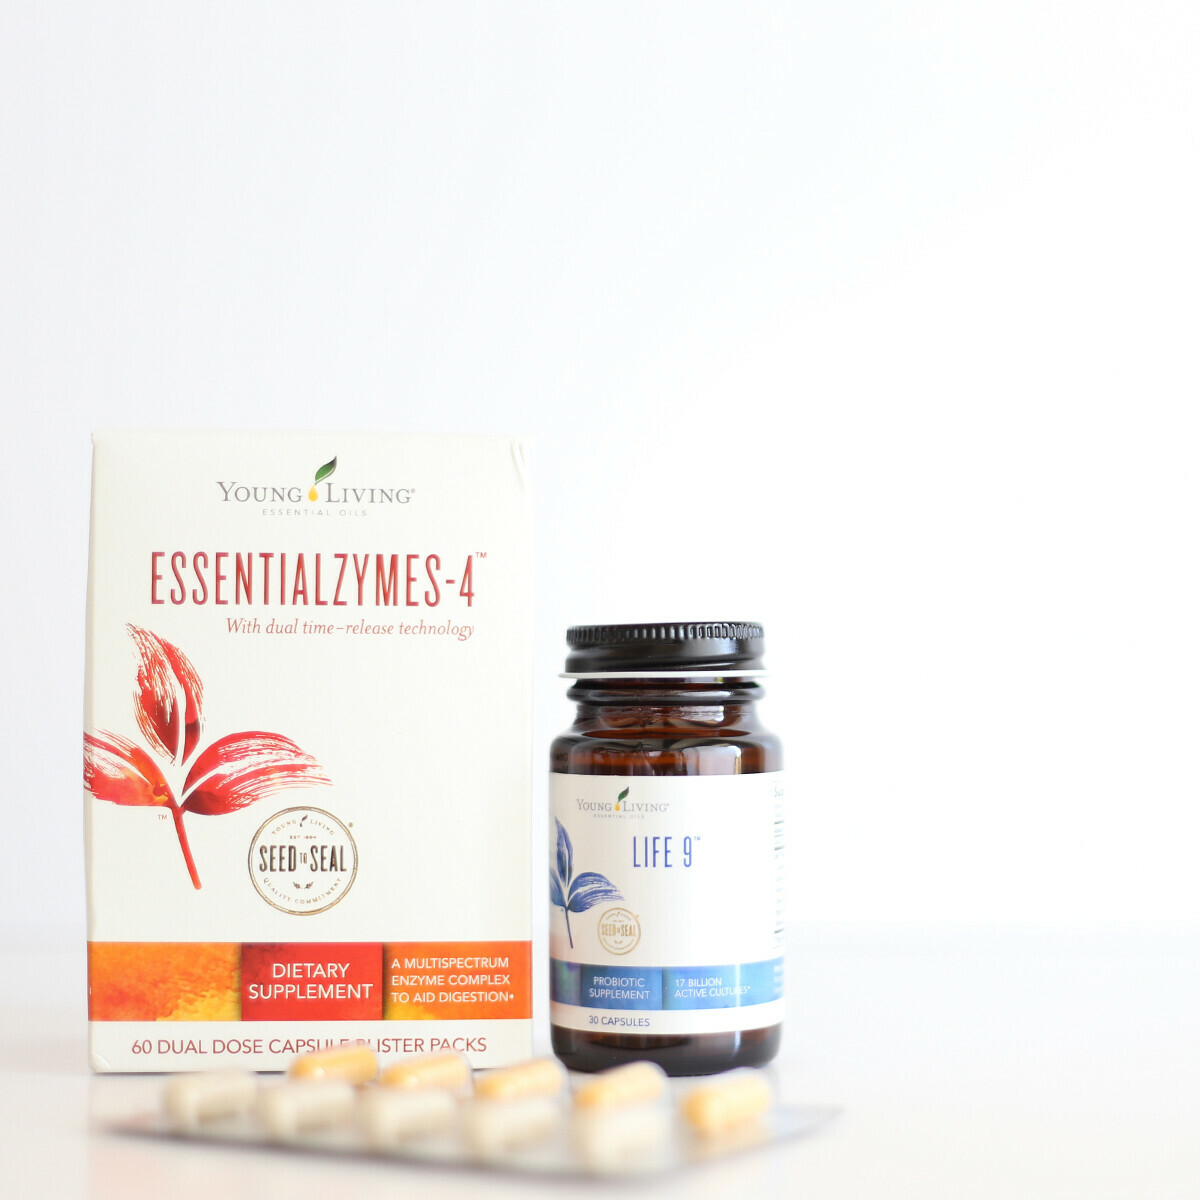
The second category is what we could call food enzymes because they are responsible for the digestion and assimilation of our foods. Eating good foods is awesome, but to unlock the full potential of every vitamin and mineral in these foods takes enzymes. Most of us eat foods depleted in enzymes making supplementation an important part of our daily routine.
The third category of enzymes is to support our immune and defense system.
Essential Oils are from plants and therefore food. Premium essential oils have the DNA blueprint of hormones, enzymes and proteins.
{Above credit to Debra Starkey}
-Only one company I know of incorporates essential oils in it's enzyme formulations to make them more bioavailable and effective. If we can not breakdown the foods we eat, we can't utilize the nutrients found in these foods. These are the ones I use. We have a noticeable difference in our bodies when we use them regularly. Adults take certain ones and our kids take ones formulated for them.
PROBIOTICS
The gut is everything. Say it with me: The.Gut.Is.Everything. Scientists in medicine agree on this.
The gut is vital to two very important things that we care deeply about and are essential for health: 1. Behavior and 2. Immune System.
Most already know this, but humor me. In your gut, or intestines, are bacteria. Pounds and pounds of it along your 22 feet of intestine. It’s a symbiotic relationship between us and the bacteria, meaning the bacteria get to live in us and in exchange they do positive things for us. They help us break down food and send messages in the body.
The short story on how the gut affects behavior: The gut itself has a brain called the “ENS.” The gut-brain, or ENS, talks to the head-brain, or CNS. In doing so, it can trigger negative behaviors and feelings (such as anxiety or attention deficit). Subtle changes to the gut flora (bacteria) can cause distress and set off a chain reaction.
The short story on how the gut affects the immune system…isn’t so short. It’s a complicated story with many moving parts, some of which are above my pay-grade. What you need to know is this: studies have shown that people with a healthy, varied and thriving gut flora get sick less often and get better quicker. That’s all I need to know to decide to give my kids probiotics daily.
There are also things we can do to support a healthy environment in the gut so the probiotics can flourish. Some of those things are gut-healing foods and avoiding the ones that damage it.
I'm not going to talk much about this here because many people already understand this, and/or the info is easy to find. Below are some places to begin:
More info
The short story on how the gut affects immunity:
ANTIOXIDANTS + TRACE MINERALS.
From the book "The healing power of minerals, special nutrients and trace minerals," by Paul Bergner: On one page is a chart showing the mineral content of store-bought apples in 1914. Next to that is another chart showing the mineral content of store-bought apples in 1992, when this book was written. You would have needed to have eaten 26 1992 apples to equal one 1914 apple, except that's not true because some of the minerals found in the 1914 apple couldn't be found at all in the 1992 apple. If we use this ratio to apply to the rest of our food supply, it means that today's food has less than 4% of the nutrition our food had 100 years ago. 4%!
Our problem is malnutrition, actually. The "recommended daily allowance" suggested by the government is based on the 4% idea, not on what our food used to be like. The fear of overdosing on any vitamins/minerals (including silver) is based on the scare tactics we are daily fed by the media. In 1993, the World Health Organization (WHO) reported that 95% of the world’s soil had been depleted of key nutritional elements, including iron, iodine, calcium and most of the trace minerals.
Everything our ancestors ate 100+ years ago would contain vitamins/minerals at a level that today's medical health authorities would declare an overdose. Researchers who spent a few months with the native, Inuit/Eskimo Indians who live at "the top of the world" (as they call it) estimated that, based on their diet of almost entirely seafood (can't grow plants on the ice!) the average, daily dosage of Vit D per man, woman and child was 350,000 i.u.'s per day, and the average daily intake of Vit A was 650,000 i.u.'s per day! (No Vit K in seafood!)
These native people also had never heard of cancer, arthritis, diabetes or heart disease. Never seen it, didn't know what you were talking about. Every single case of overdose with Vit's D, E or A that the FDA has on record occurred with SYNTHETIC versions of them (made with petroleum by-products). There are no cases of overdose with food sources. When I had my clinic in California, I gave my cancer clients 150,000 i.u.'s Vit D/day. Never saw any overdose symptoms.
There are basically two types of trace mineral supplements. Those that are derived from what is called "humic shale", also called "dinosaur bones". These are very old deposits of what are believed to be plants/animals from the prehistoric past. This enables them to be called "plant sourced", since they were once living organisms ("dinosaur bones"). And yes, they are minerals that are usable by our bodies.
The other source is essentially the ocean, The Great Salt Lake (GSL), to be exact. Because the GSL has water running into it but no water running out, it is very concentrated. Being in Utah, where it is very hot, the water is constantly evaporating, so the Lake doesn't overflow. The rivers wash vegetative matter from surrounding mountains and forests into the Lake, so this water is actually "thick" with minerals. There is no industry around the Lake, so pollution is low.
{Credit above to Terry Chamberlin}
.
Caffeine, medications, bad water, stress, illness and more all deplete our trace minerals.
Our food is not what it used to be.
Our world has gone down in atmospheric pressure and in oxygen. Radiation and toxic load has increased. Our soil has been depleted.
Thus, an apple today is not the same apple that kept the doctor away even 50 years ago.
Input, output.
So what we are getting in our food isn’t what it used to be. So, we have to find ways to “cheat the system” so to speak, and get our bodies as close to their original input as possible. This is where antioxidants, nutritionals and vitamins come in to play.
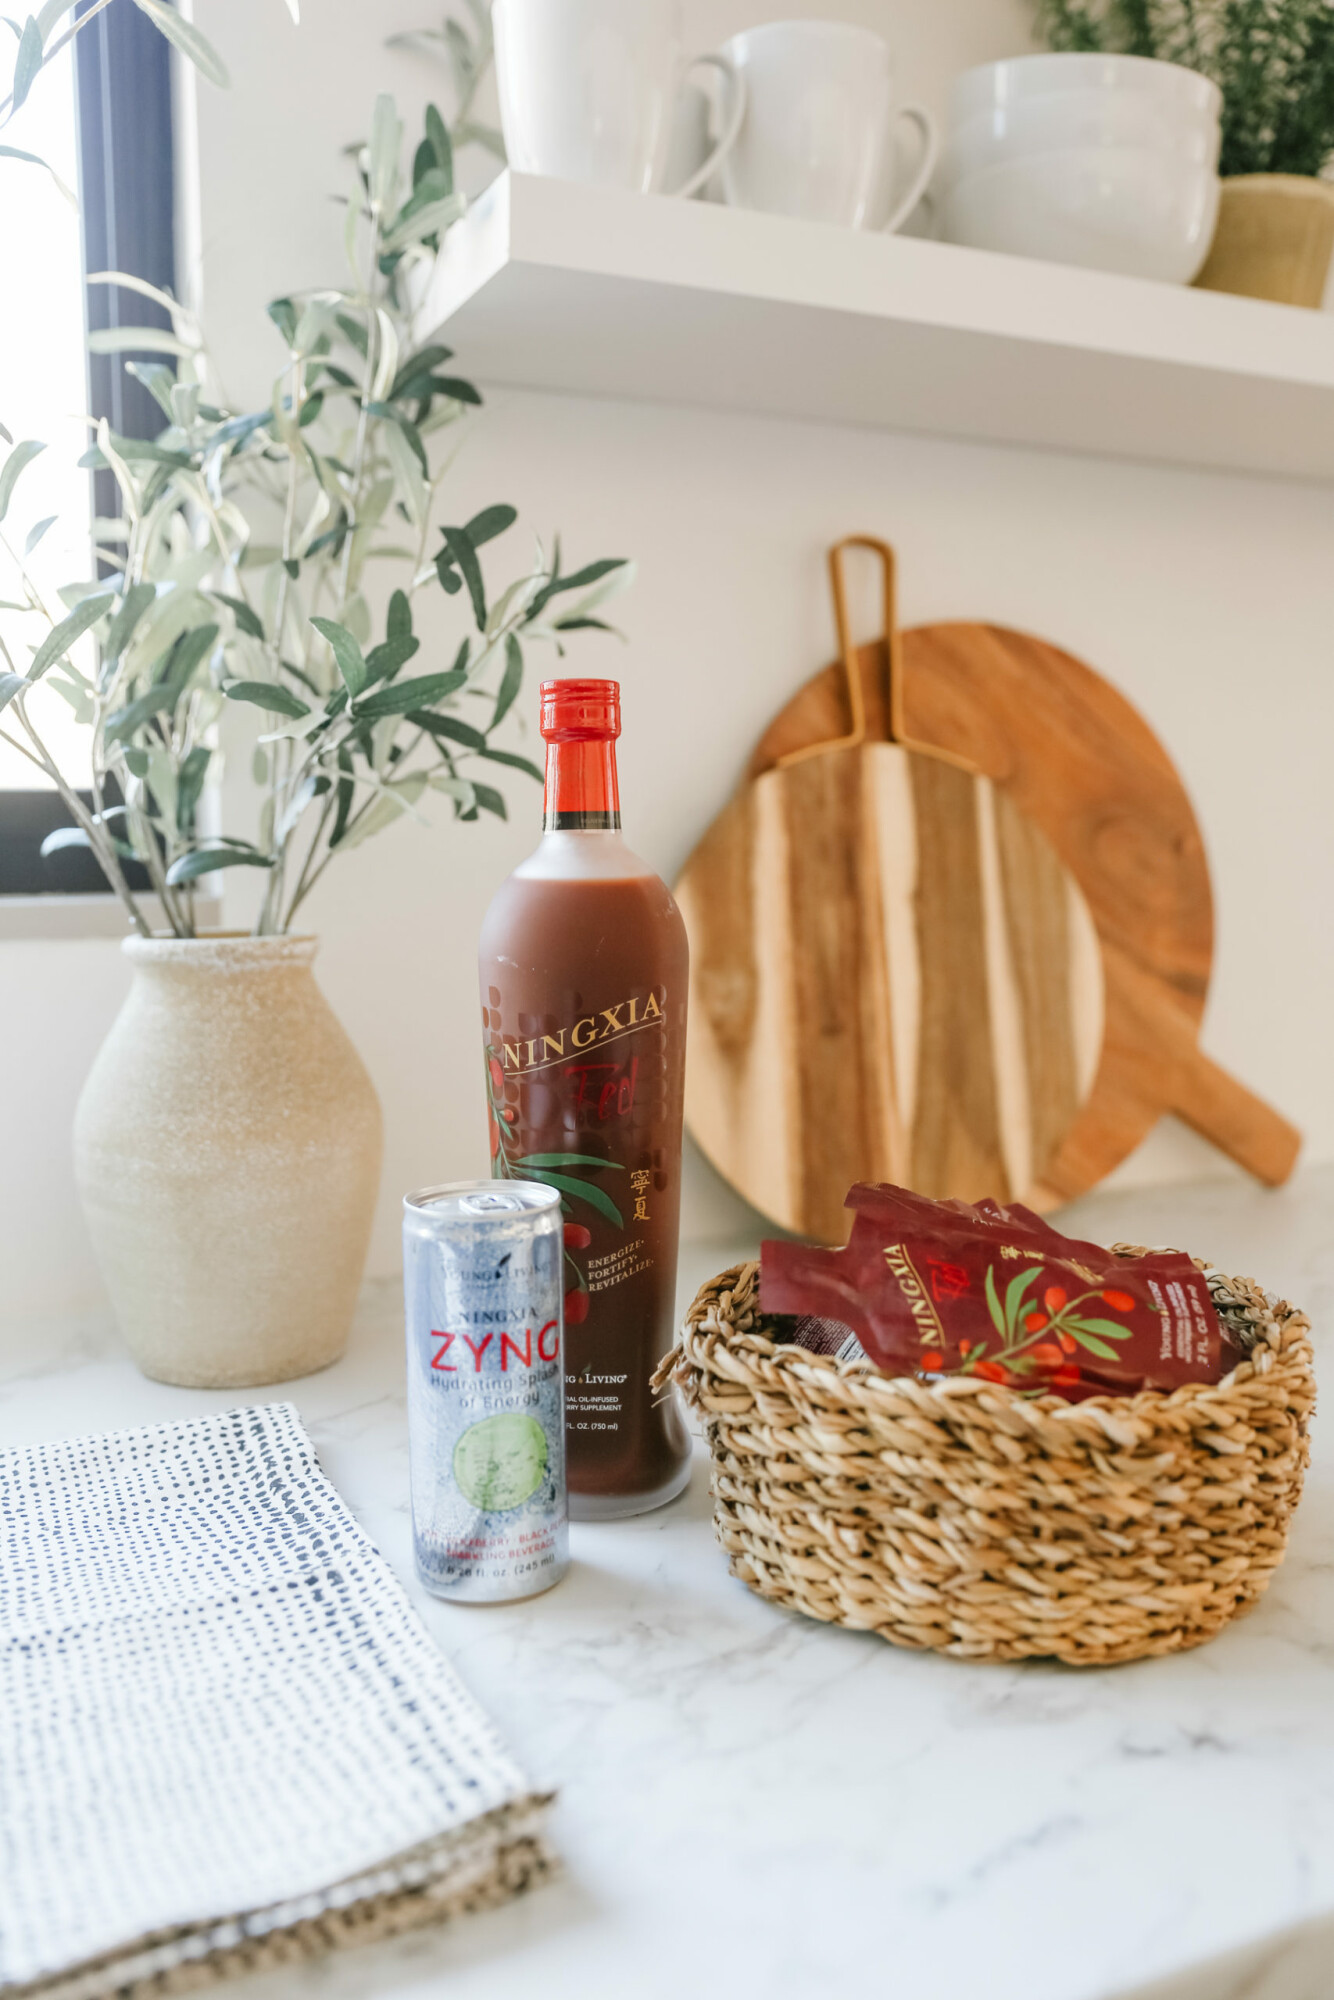
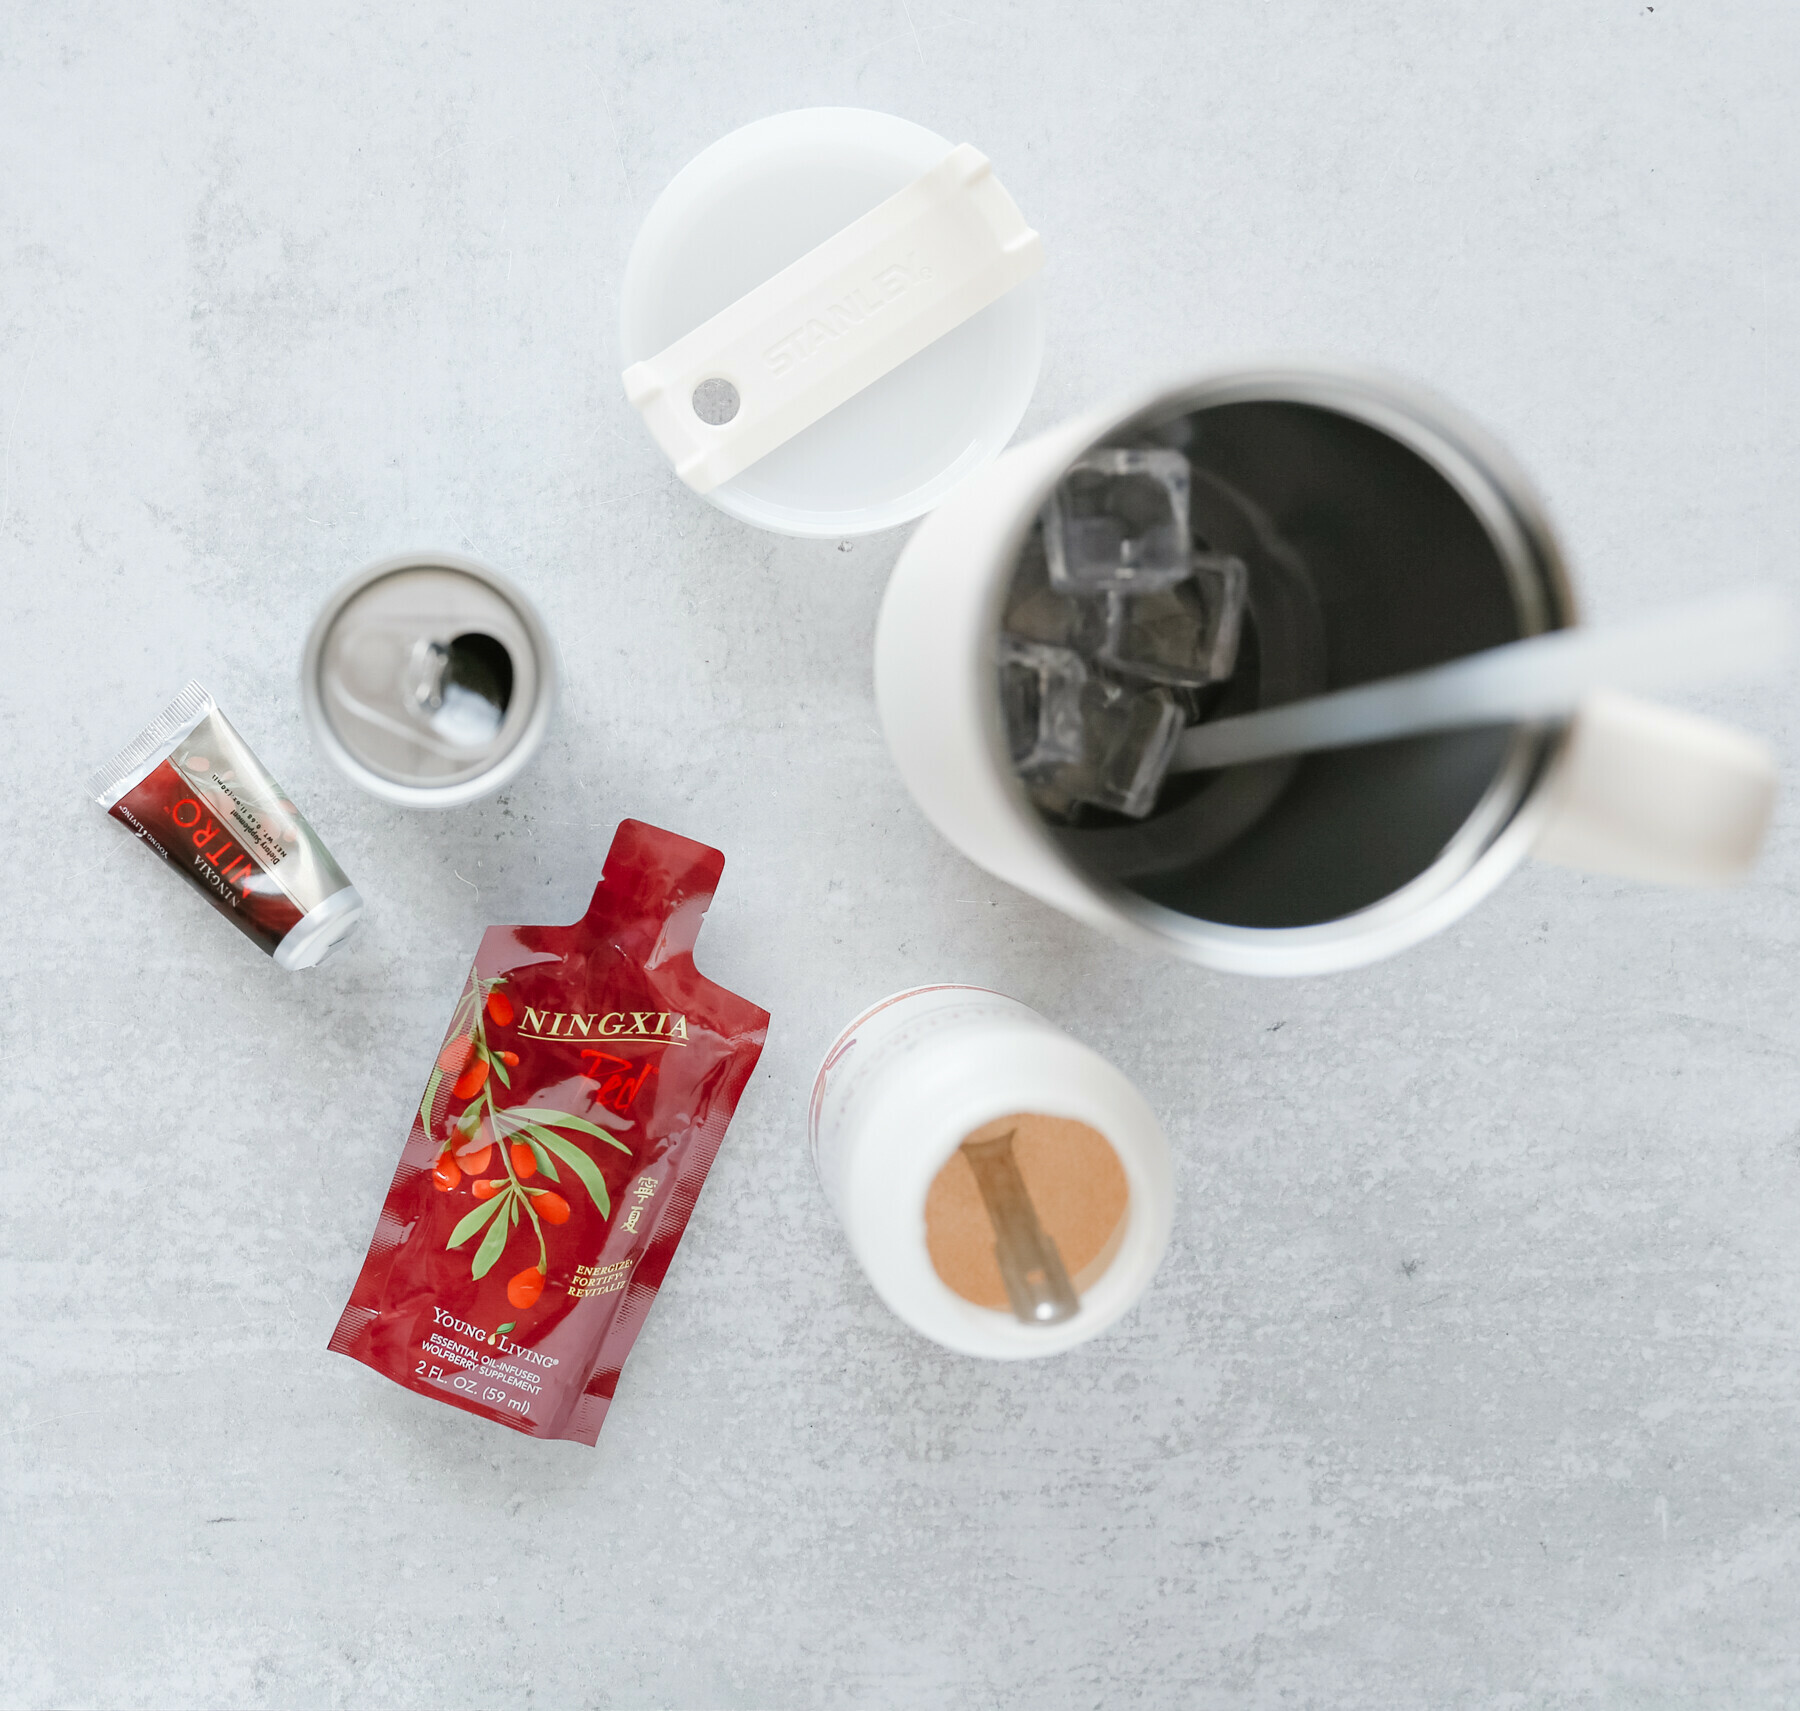
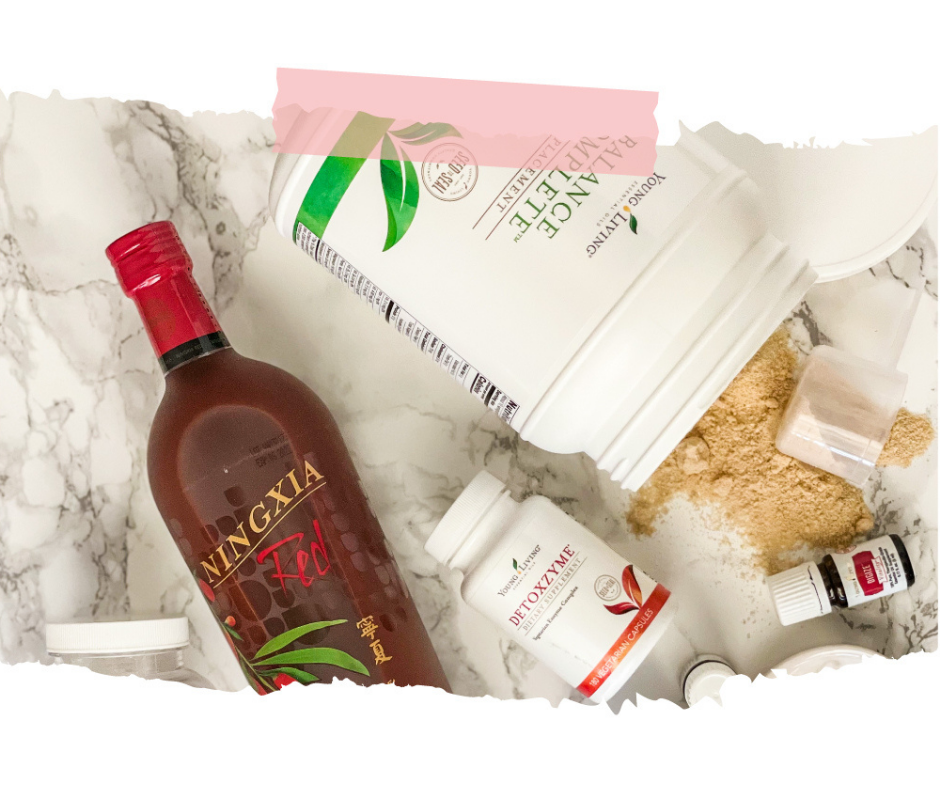
Antioxidants are just that-antioxidants. They fight the effects of oxidation in our bodies. There are three specific things that we won’t be caught dead without daily. Those are Ninxia Wolfberry, Vitamin C, and Ionic Magnesium.
Ninxia Wolfberries are the highest antioxidant rich food known.
Since it’s a whole fruit puree, it has some protein and fiber in it as well, so it will NOT spike the blood sugar like fruit juice will.
It’s ORAC value is through the roof, higher than pomegranates, blueberries, you name it.
It has 18 amino acids and 21 essential minerals in it. Paired with high limonene rich citrus oils, it’s what we use instead of a multivitamin. And calling it that doesn’t do it justice, but that’s a good way to think of it I think.
We choose not to use multis. So one ounce of this every day, in the morning, gives my kids lots of Vitamin A, plus all the things I mentioned.
Did you know that there was a place where 400% more people of age 100+ live without canes to get around or glasses to help them see, and where they are overall very healthy.
Did you take a guess where that might be?
That place is called NingXia, China, where the superfood NingXia wolfberries originate. The locals have been eating these berries for thousands of years. We are blessed enough to get to use them in our NingXia Red products due to the amazing relationship Gary Young built with the people there.
-We take Trace Minerals + Antioxidants every day. They are "known" for causing diarrhea and/or being difficult to absorb correctly, since most people have some or severe gut damage. However, a study done comparing two group taking trace minerals alone and taking them paired with certain herbs showed almost no diarrhea in the herbal group. Kids needs them as much as adults and we include them in our daily routine.-
After all this....
Which supplements do I use and recommend?
Young Living.
Why use Young Living supplements?
We all know there are thousands of supplement companies, some with very good products, so how do we distinguish theirs from ours. The word supplement is defined as - something that completes or enhances something else when added to it. These are intended to compliment our already healthy lifestyle of nutritious food choices. If your food choices are less than nutritious, I invite you to make changes. Need guidance? I'm here.
Herbal supplements are comprised of dried herbs in capsules, tablets or powders and liquid herbal supplements known as tinctures. In most cases, an herbal supplement will only contain herbs. Tinctures of course are liquid so will have a menstrum of water, alcohol or glycerin or a combination of these. They are sold as separate herbal products or in combination with other herbs for a specific purpose or benefit.
Nutritional supplements are comprised largely of an array of vitamins, minerals and amino acids. Multivitamins and single vitamin or mineral capsules, tablets or liquids fall into this category. The majority of companies making nutritional supplements will have the amount of ingredients and percentages based on supporting and giving the body what it needs for proper health. The FACTS Panel (the label on the back) gives the amount included often referencing the RDA - recommend daily allowance. The minimum amount needed to ward off disease specific to that particular nutrient. Not all whole food supplements contain specific amounts.
Digestive enzyme supplements can be combinations of the various enzymes used for digesting food with meals or ones to be taken between meals to cleanse and detoxify.
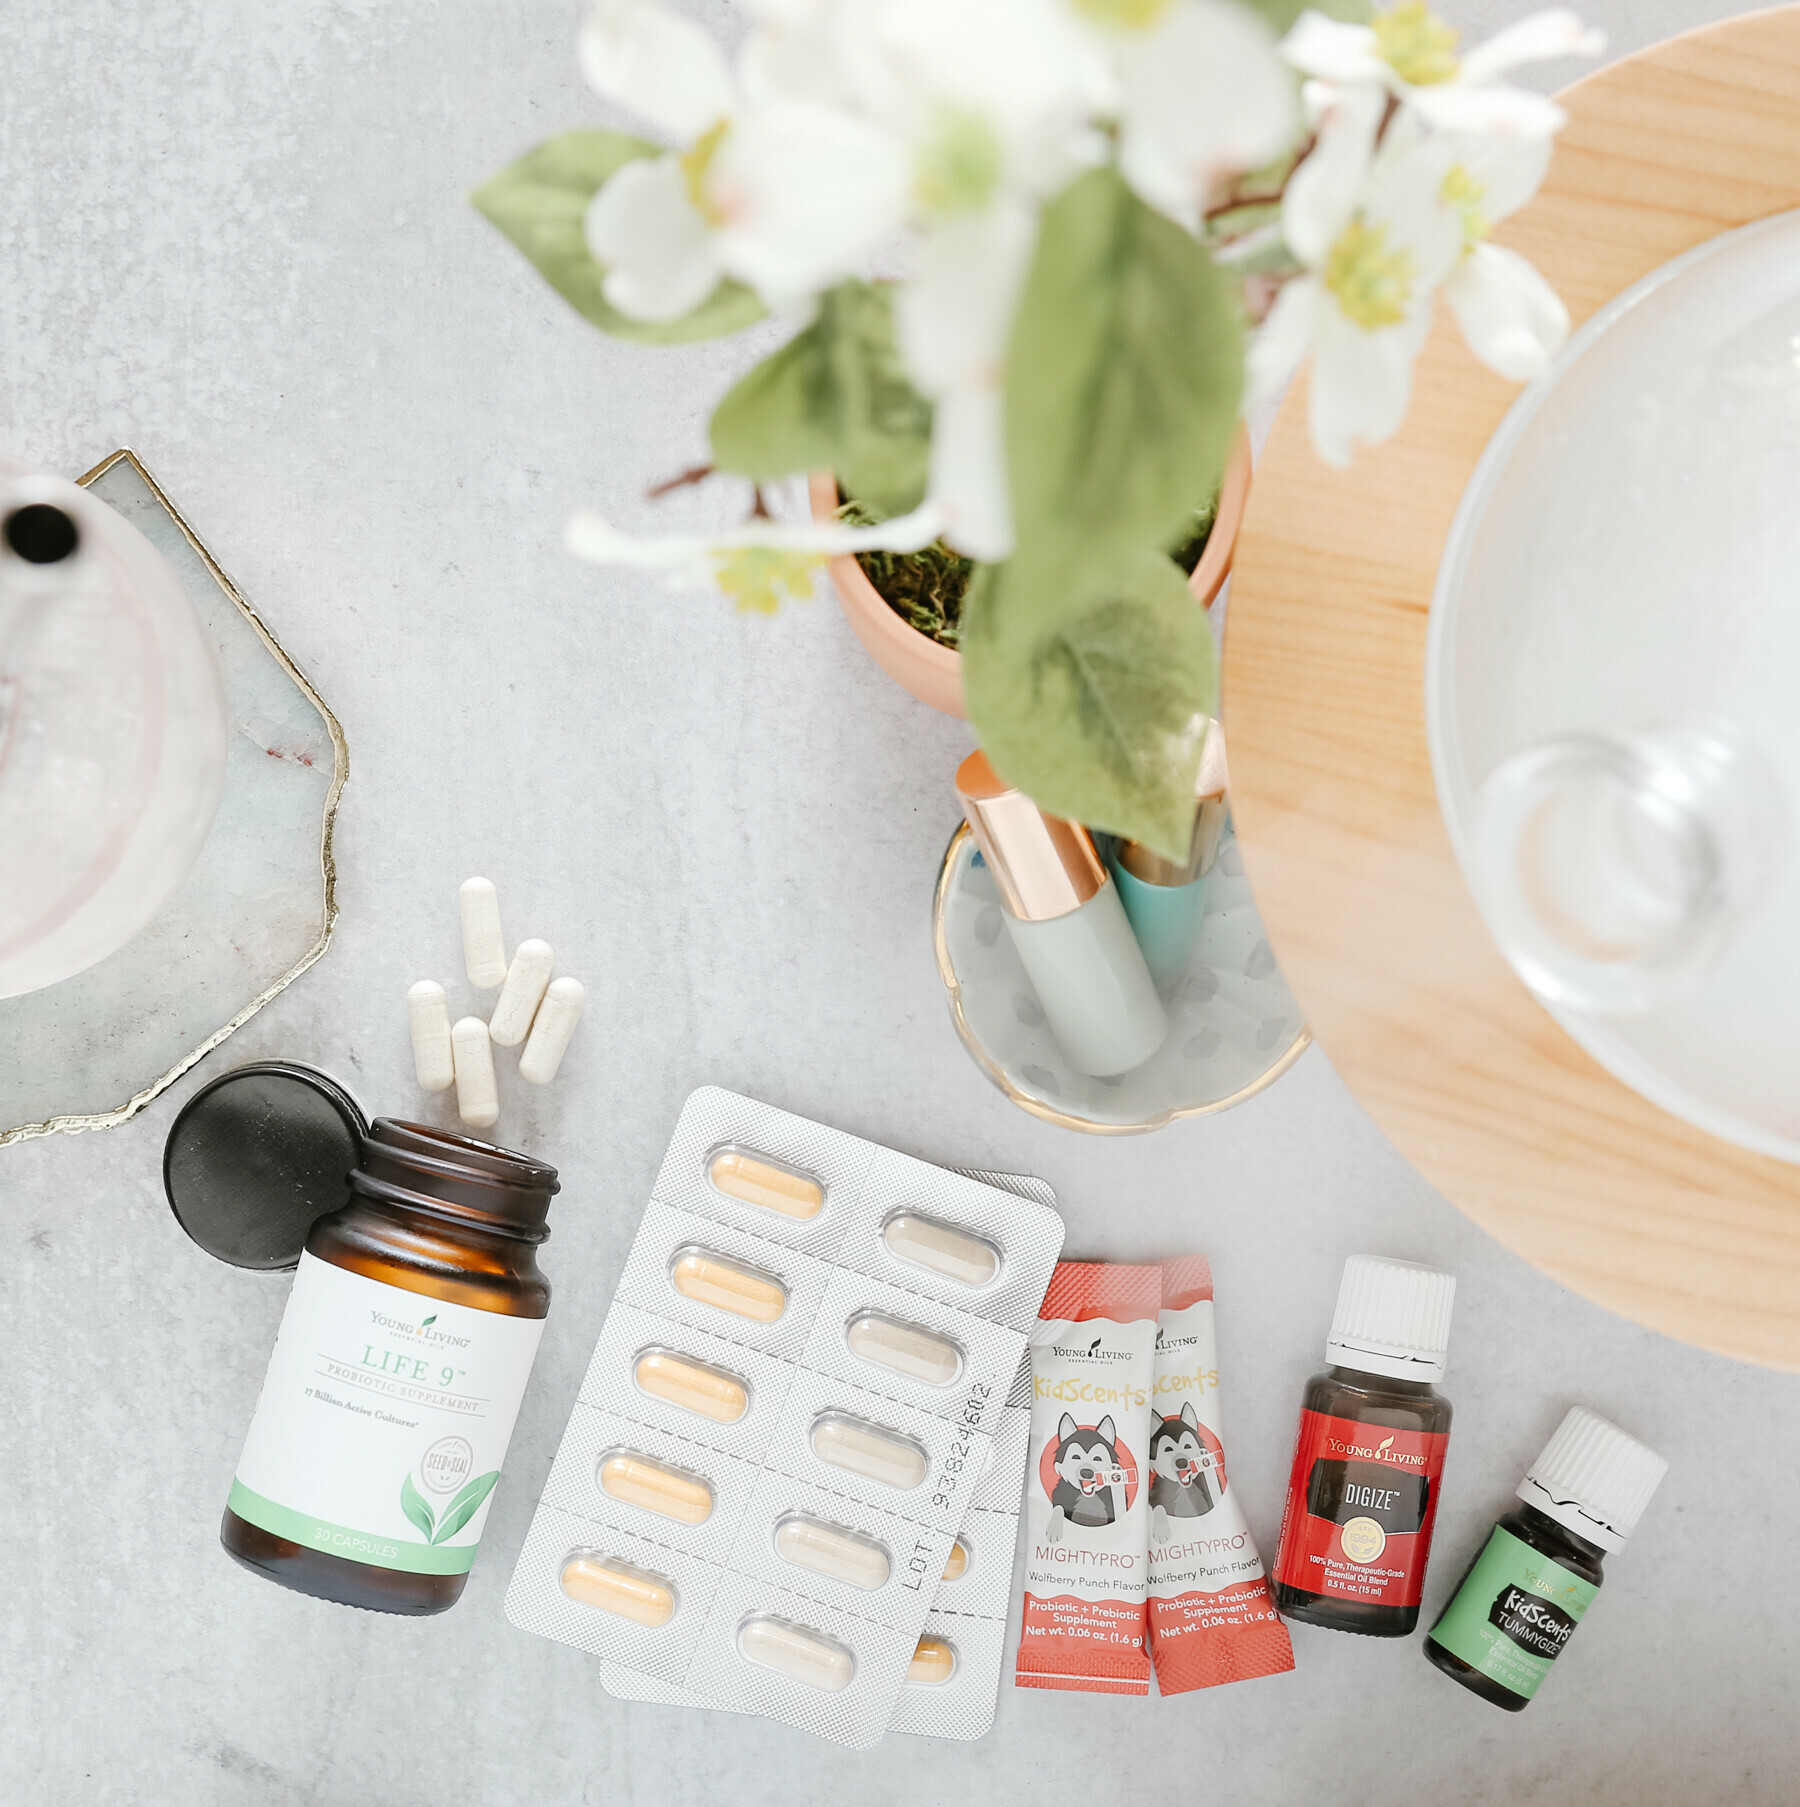
Probiotics occupy a category all their own. Probiotic supplements concentrate on supplying the beneficial bacteria for gut health. These vary widely in their selection of the various strains of bacteria and yeast. Yes there is such a thing as healthy yeast. The three main probiotic category strains include lactobacilli, bifidobacteria and some yeasts like Saccharomyces boulardii. Probiotics patrol the intestines and keep everything running smoothly. They help digest food, destroy harmful pathogens and produce vitamins. When healthy bacteria is destroyed, harmful bacteria flourish which may lead to digestive system problems. There are over 500 different good probiotic bacteria strains. No one product can contain them all, therefore companies look for and include in their product a handful they deem most beneficial for their customer base needs.
Glandular extracts in capsules or tablets are formulated from the organs of animals. This is often referred to as a desiccated glandular product- thyroid, heart, adrenal, kidney, etc. For vegans and vegetarians this classification of supplements is generally off the table. For others, this is not an acceptable choice simply because they do not endorse the eating of organs; and some product lines will derive their glandular ingredients from pigs.
Antioxidants are relatively new on the horizon, they were first used in the rubber industry and later found in vitamin E and C. Since then, antioxidants have been found in many foods and considered a vital nutrient for our health. Their role is to protect us from the damage caused by free radicals. These unstable molecules are generated by sun exposure, stress and as part of the natural aging process. Free radicals damage cells, DNA and collagen. Antioxidants have two classifications, water-soluble and fat-soluble.
Nutraceutical supplements describes medicinally or nutritionally functional foods that naturally provide health benefits. We see these often as Green Drink Powders but may also be incorporated into capsules or tablets. Healthy fish oils, garlic and various foods fall into this category.
So why pick Young Living?
Are the YL supplements better than all the rest? I believe one outstanding feature of our supplement line is the addition of essential oils. When I began to incorporate the Young Living supplement line with my clients who were already using a top-notch product I simply asked them to swap out their current product with a comparable YL product. I asked them to use it for three months and see if there were any additional benefits or how it compared. It became evident that YL was the clear winner.
Just as with our essential oils, Young Living monitors the formulation of our supplements with the same Seed to Seal processes ensuring plant based, natural, organic, Non-GMO, potent, effective ingredients are used. You’ll never know how awesome the YL supplement line can be to your vitality until you try them.
NOTE: Supplements offered by most any company do not replace prescription medication. That being said, supplementing your diet, your healthy diet, with nutritional supplements can go a long way to help the body promote wellness where medication is no longer needed.
{Thank you to the above from Debra Starkey}
Message me today so I can help you to truly support your body and find the vitality you've always wanted.

